Vision
Preparing to carry out a vision screen
Space and equipment
You need a space which:
Is well-lit with no direct sunlight or glare
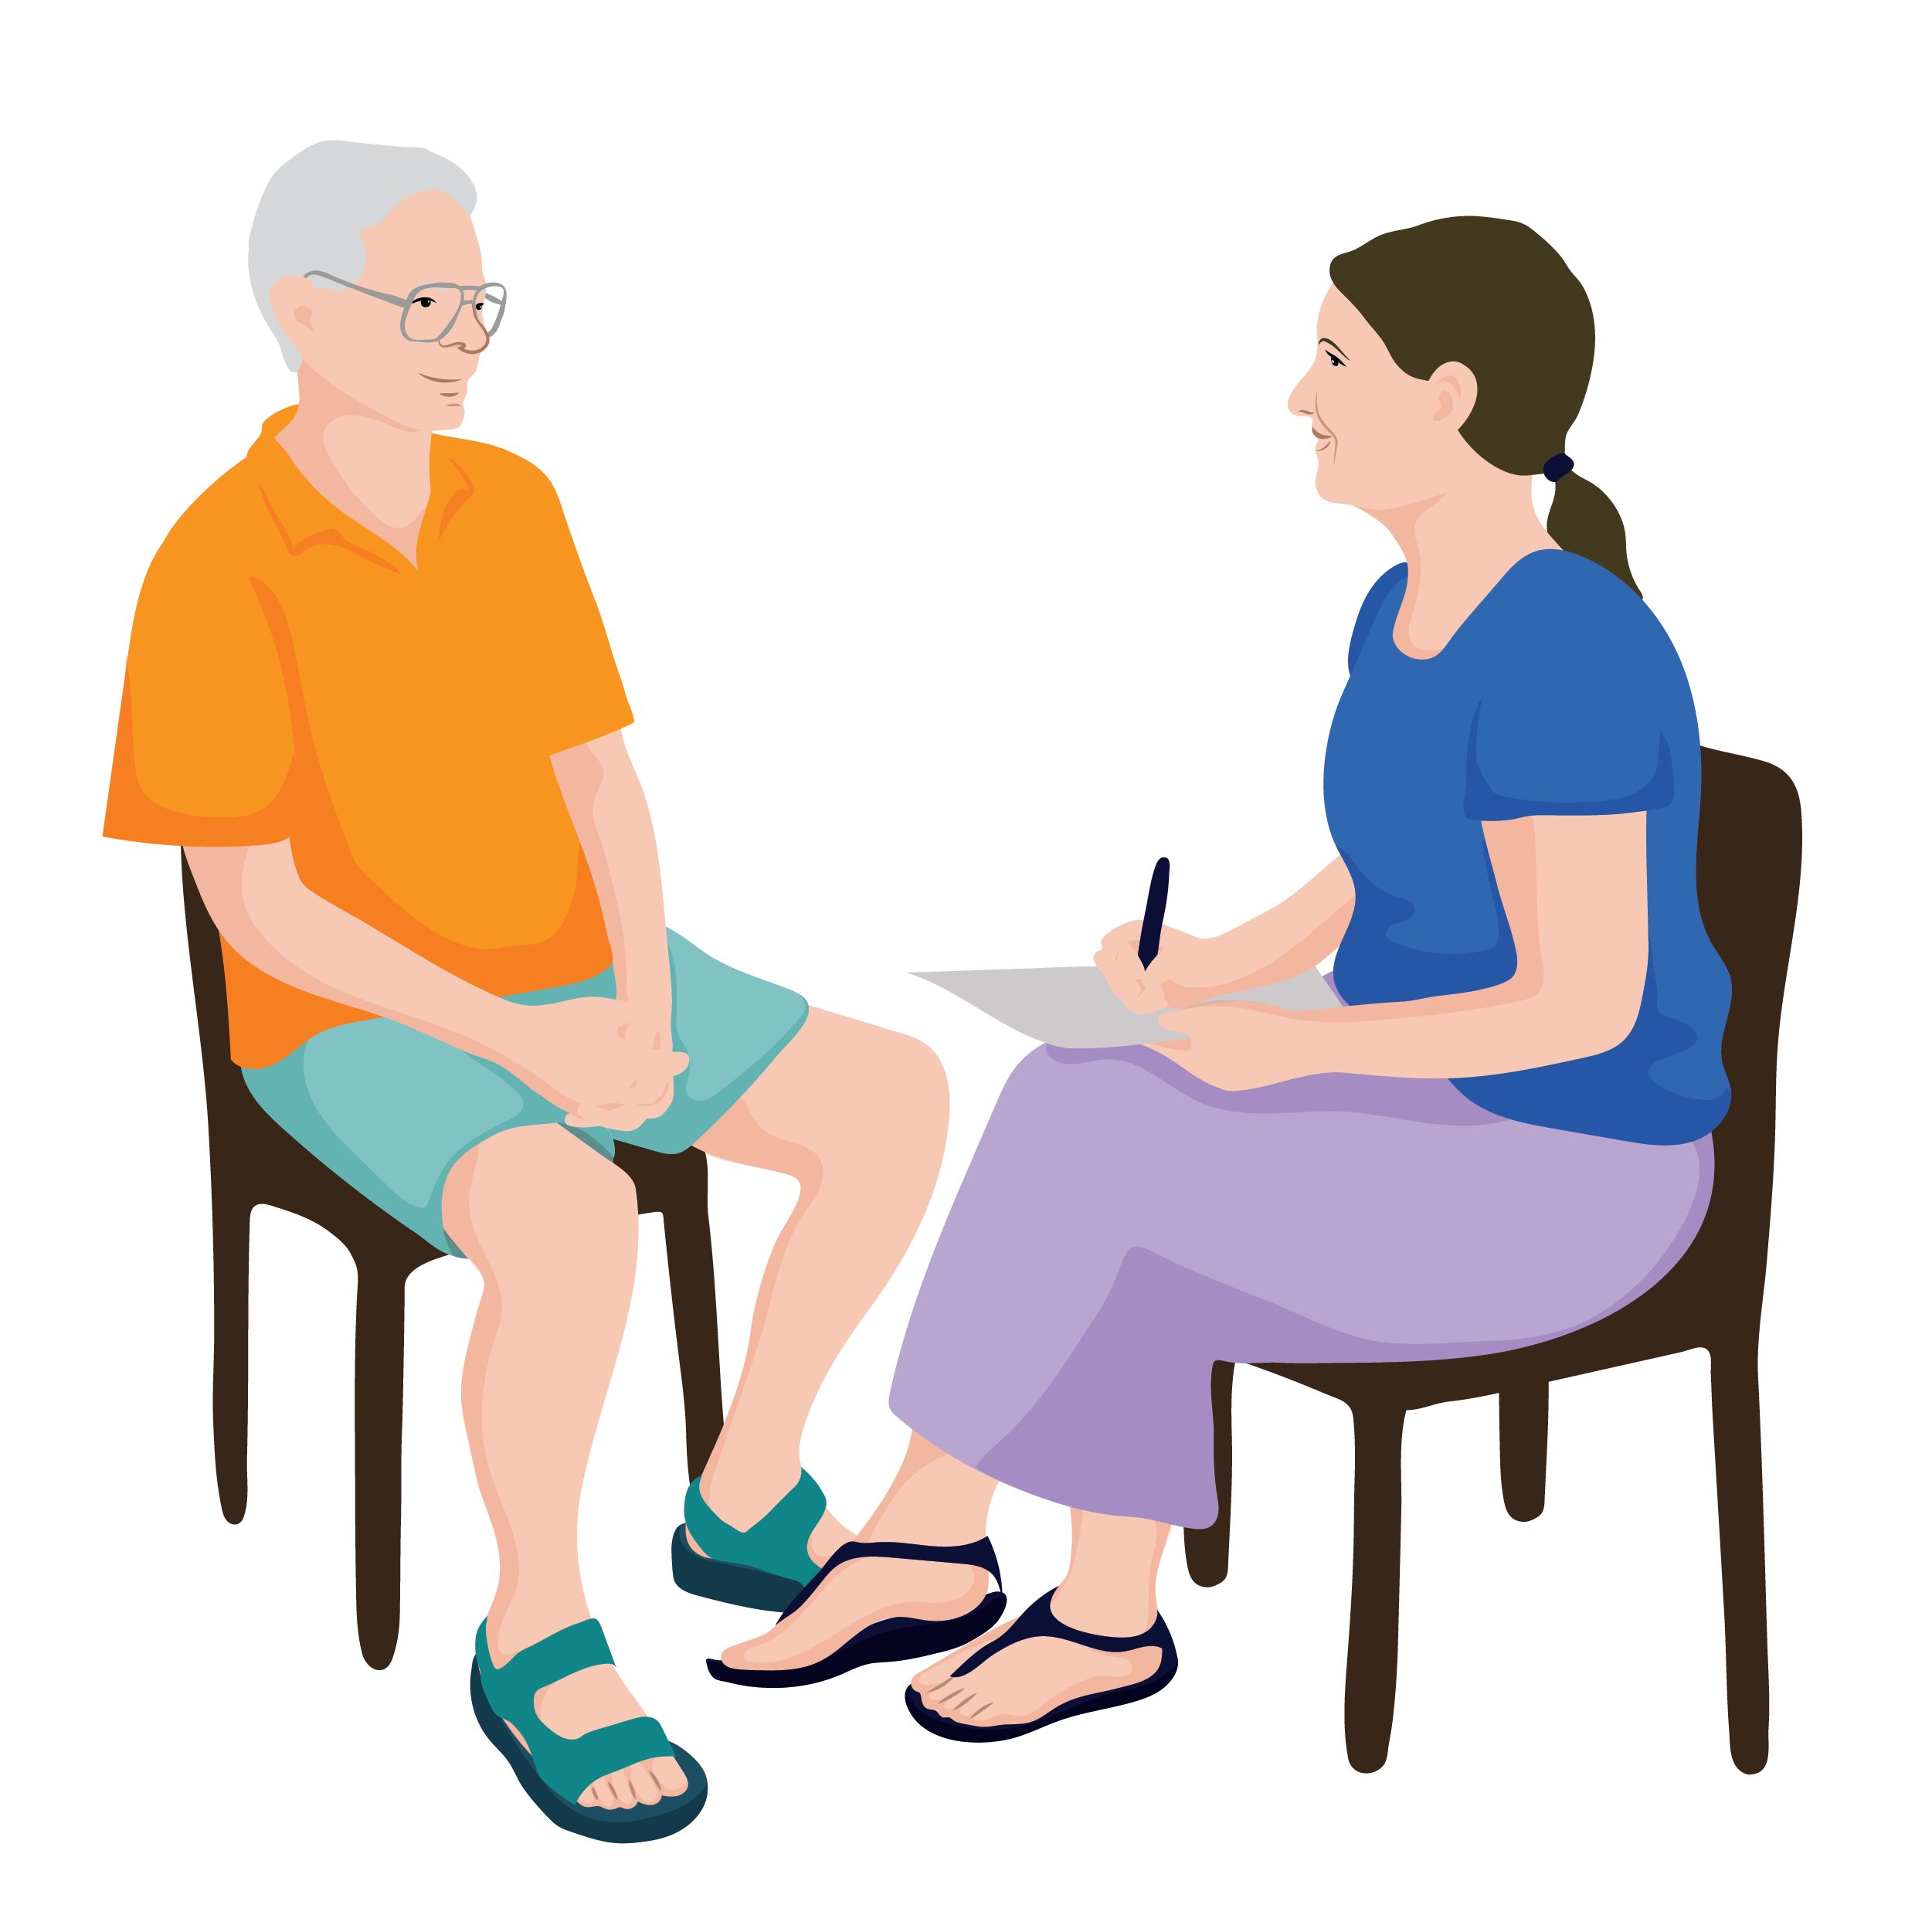
Has a chair for the person and a chair for you
Has a place to wash your hands before and after you screen each person.
You need:
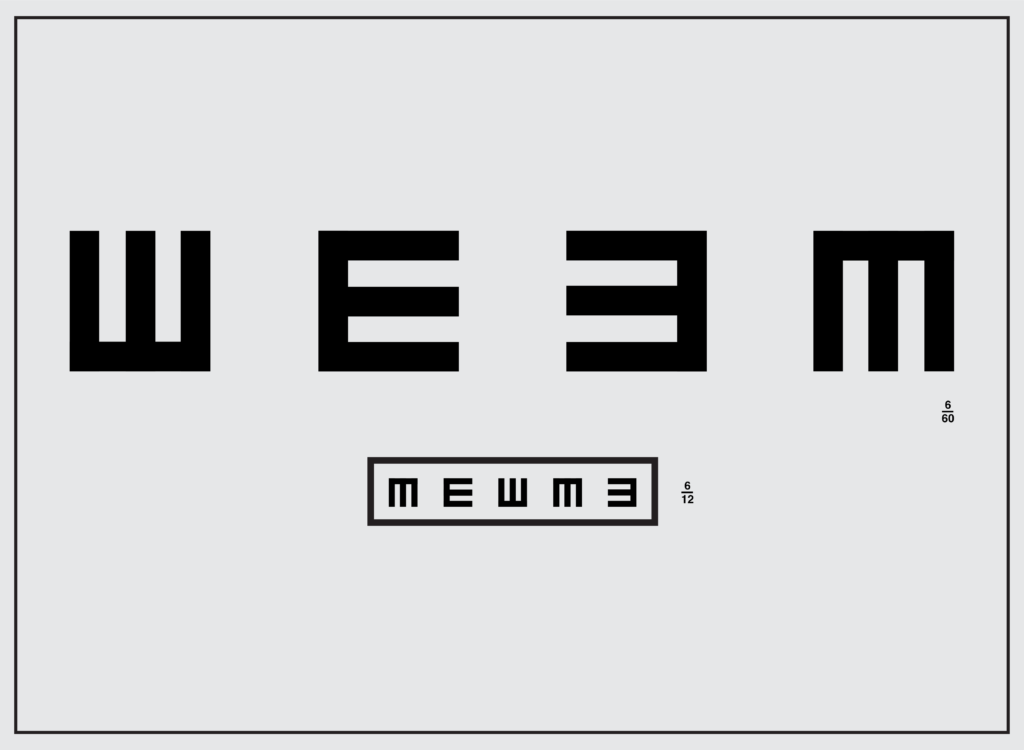
The TAP vision screen E-Charts
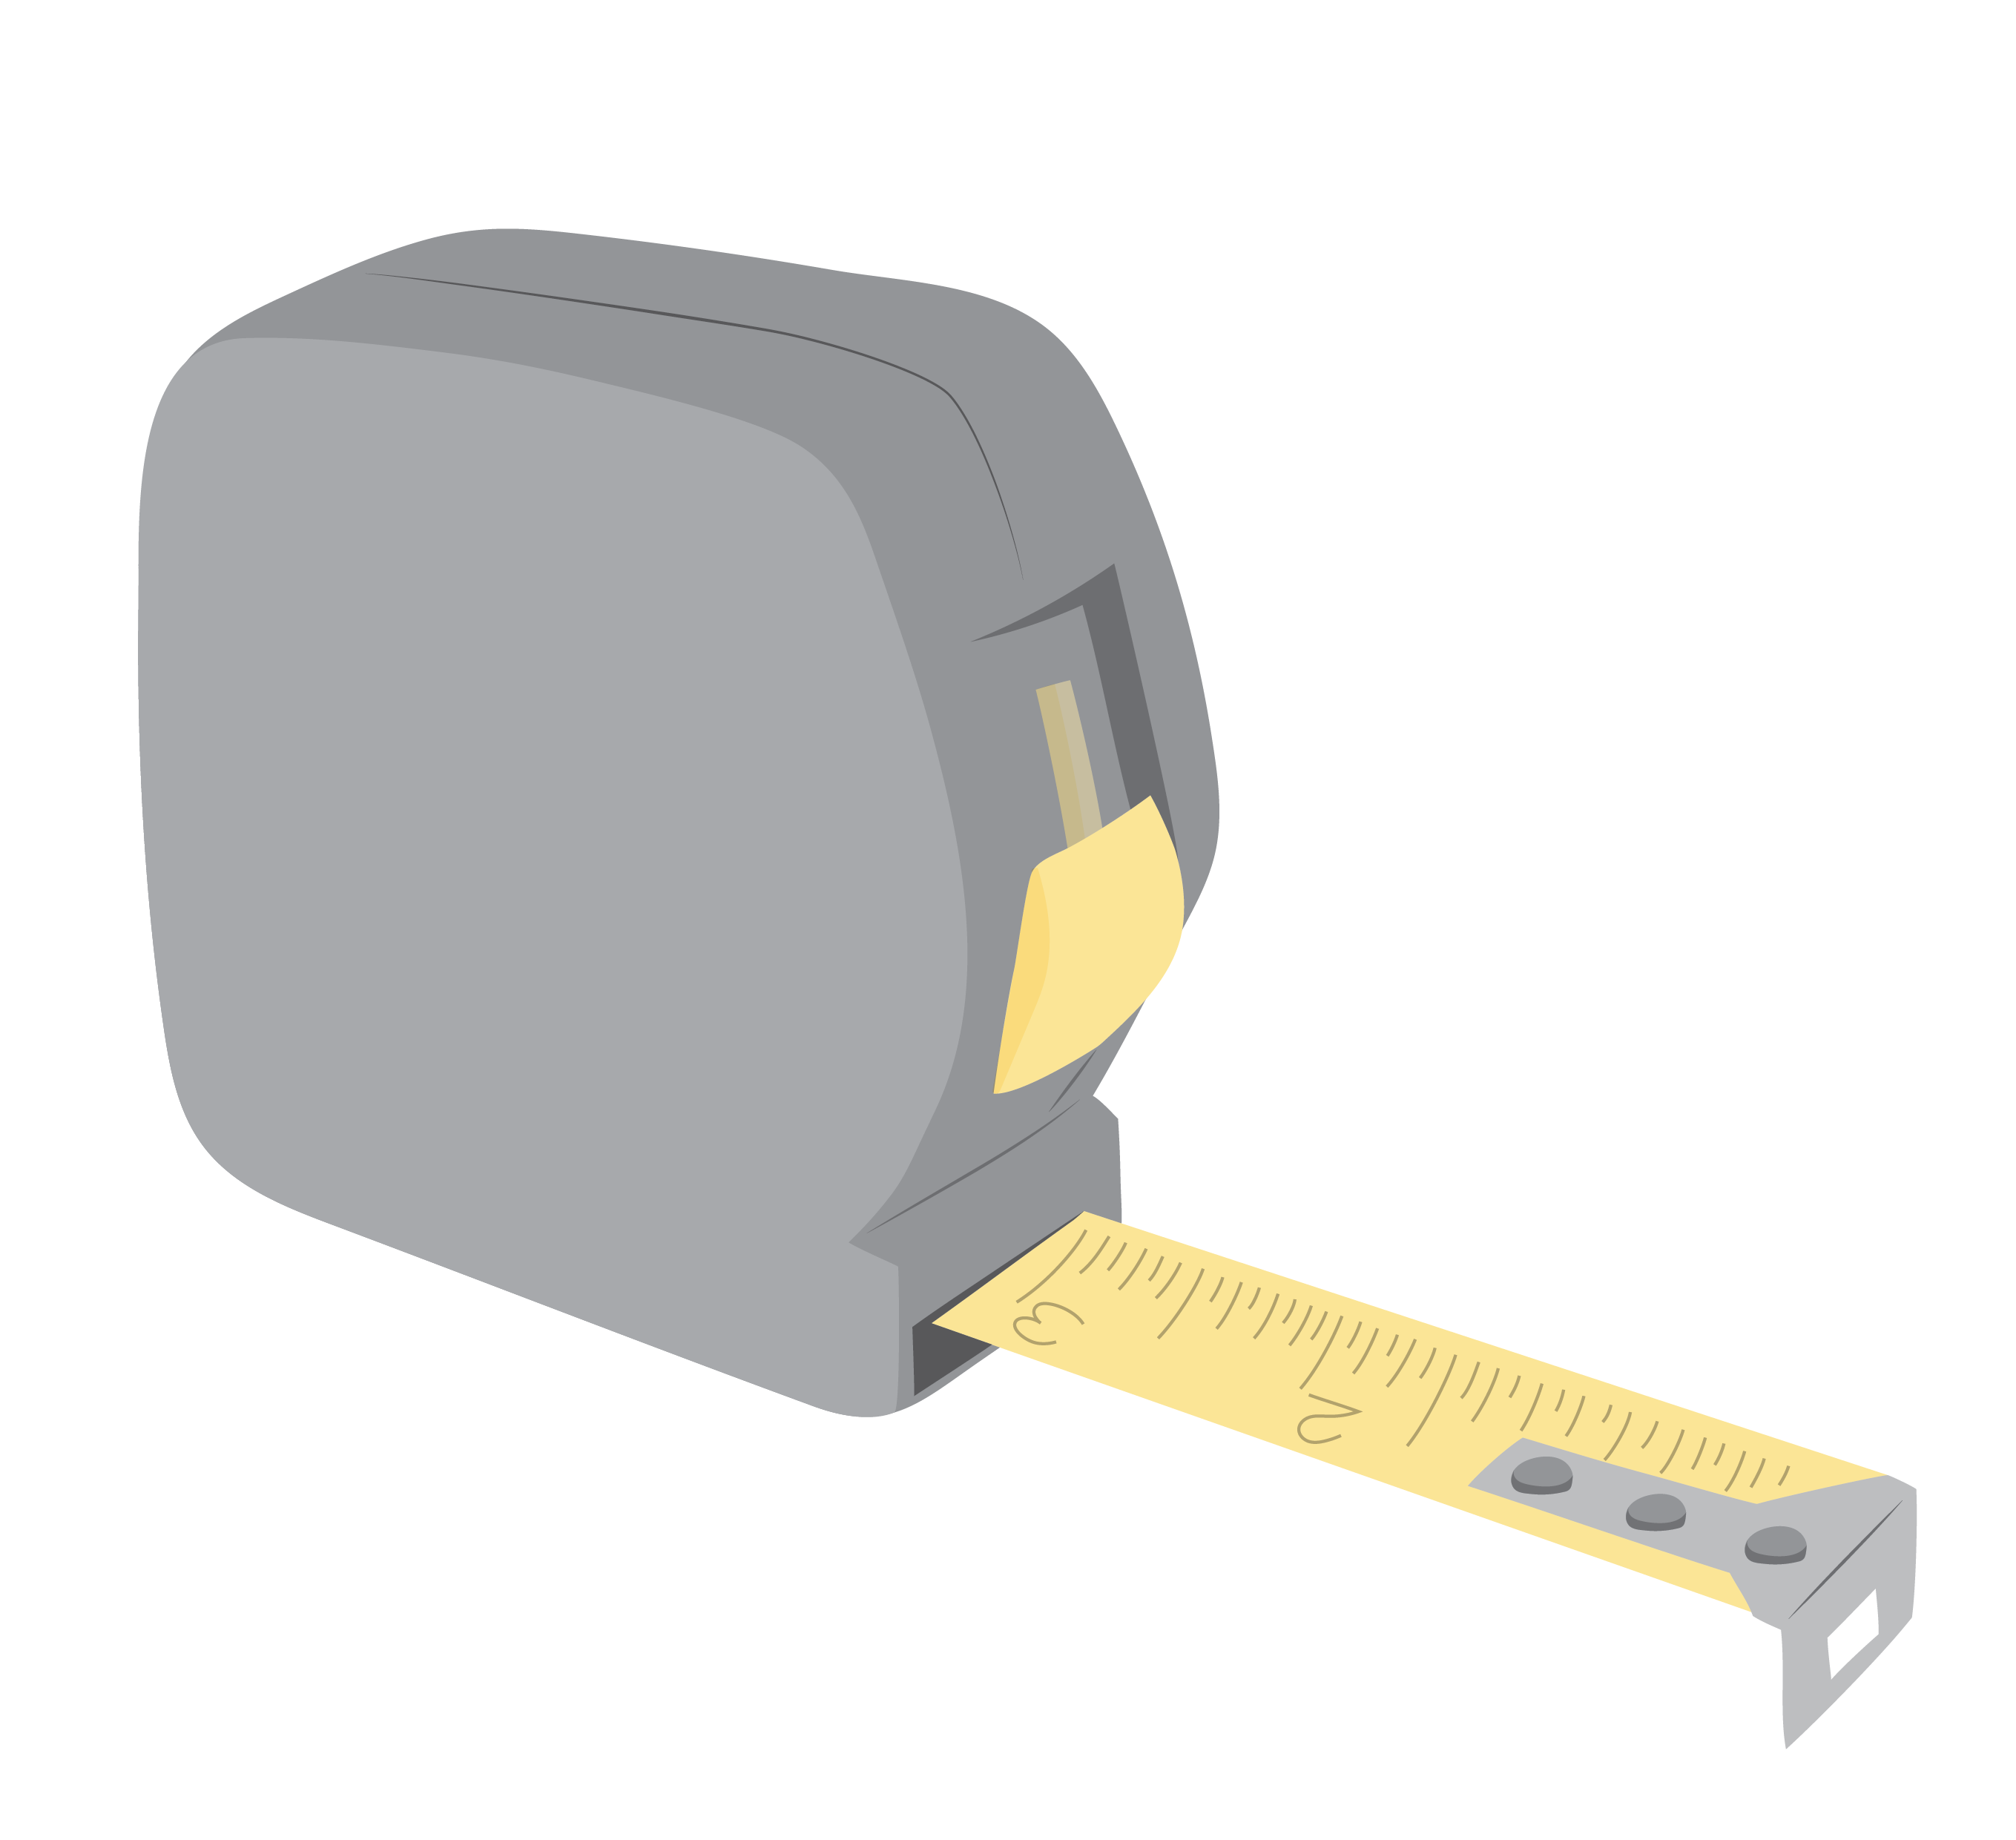
A tape measure to measure the testing distance
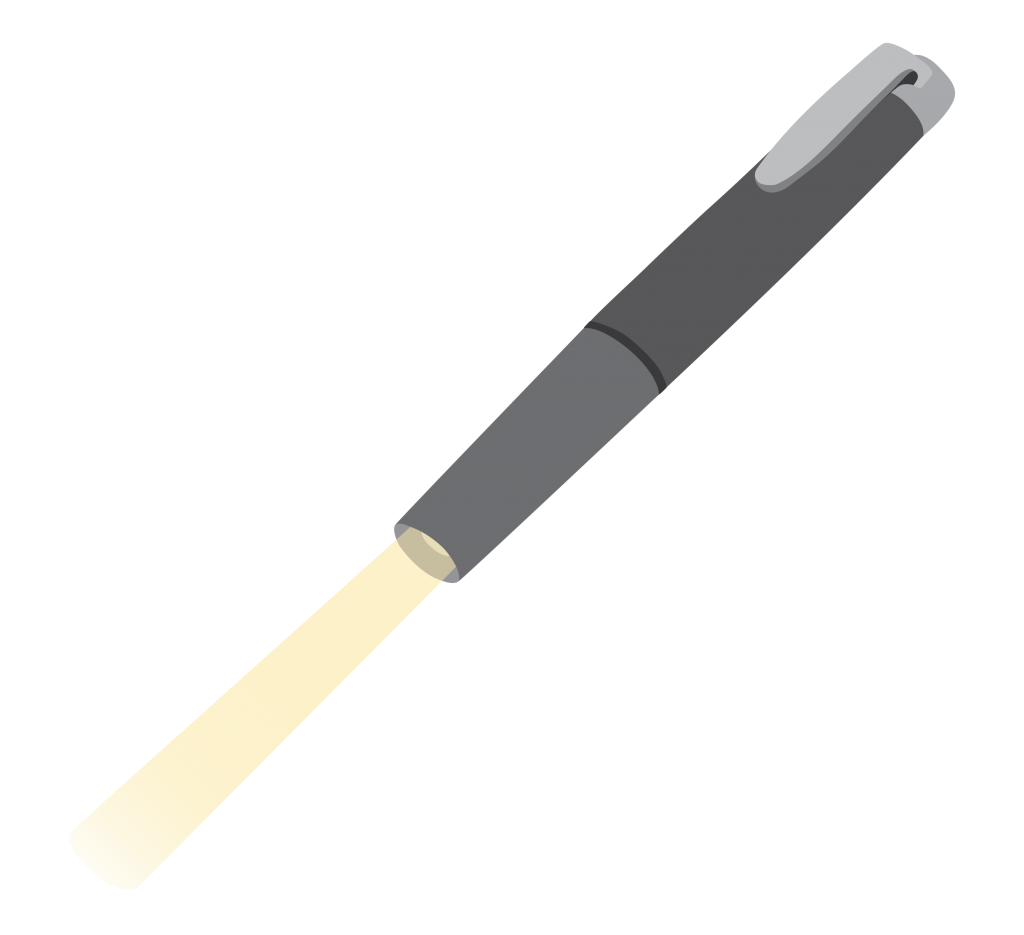
A small pen torch
One vision screen form for each person, and a pen
A temporary marker or white board chalk to mark the distance.
Distance E-chart
Near E-chart
Pen torch
Before you do a vision screen
Explain to the person:
This is a basic vision screen, not a full eye exam.
You will check for signs of any eye health problems and do a simple vision test.
The screen is to find out if they need to see a doctor, eye health professional, or if you can assist them with some basic vision assistive products.
Ask:
Do they have any questions?
Do they give permission to do the eye screen?
If screening children ask permission from the child and their parent or carer.
Consent for use of information
Please let us know if you give consent for information collected during this training to be used for future reporting and research activities.
Check yes or no to each question below. If you select no, you are still very welcome to continue the training.
2. I understand that my de-identified information collected during this training (including this registration form, online feedback survey, quiz results and discussion forum) will be used in reporting and research to help improve TAP and improve access to assistive technology, and I give my consent for this.
Page
of
Show / Hide lesson topics
Page
Previous page
Next page
Show / hide menu
completed
not completed
in progress
not started
Expand All
Collapse All
module lessons
Search results pagination
Login
Username or email address
Password
Lost password
Main content anchor
Search
Close search
Lesson navigation
breadcrumb
Module menu
Topic navigation
See all
Menu
Site menu
User account related
Group secondary navigation
opens in a new tab/window
Finish quiz