Instruction
The third step in providing a remote microphone system is to teach the person how to use and look after it.
How to use
When teaching a person how to use the remote microphone system explain:
- When to use
- Parts
- How to connect
- How to charge or replace battery
1. When to use
Explain that the person should use their remote microphone system in:
- Noisy environments
- In group activities such as meetings
- Listening to a person speaking at a distance. For example, a teacher in a classroom.
Explain that it can take time and practice to get used to a remote microphone system.
2. Parts
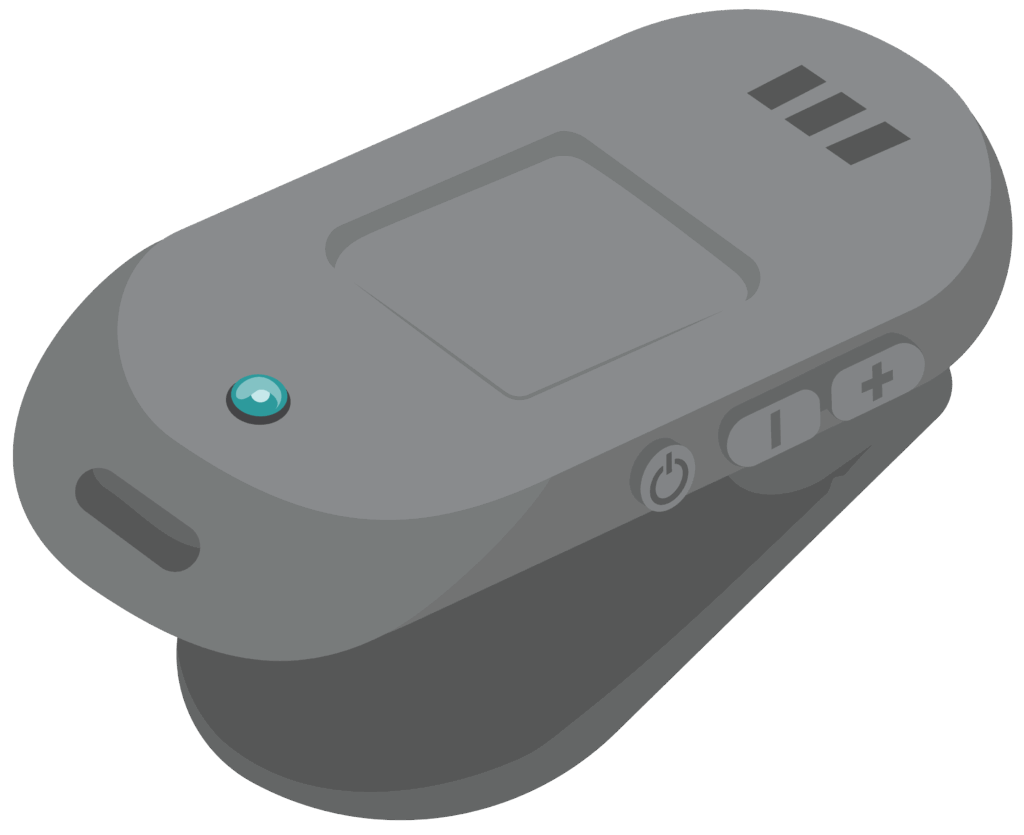
Explain these are important parts to be familiar with when using a remote microphone system:
- On/off switch
- Pairing or programme button
- Charging port
- Volume control
- Pairing light indicator
- Microphone.
Ask the person to practice switching on and off.
3. How to connect
Explain that connecting the remote microphone system with each hearing aid is called pairing.
- After pressing the pairing button the pairing light will flash
- When the process is complete the pairing light will stop flashing
- Listen for the sound that the remote microphone system is connected.
Tip
Explain to the person that the pairing range is usually 10 metres. To avoid losing the connection, consider where to sit or stand if the person speaking into the microphone transmitter is at a distance.
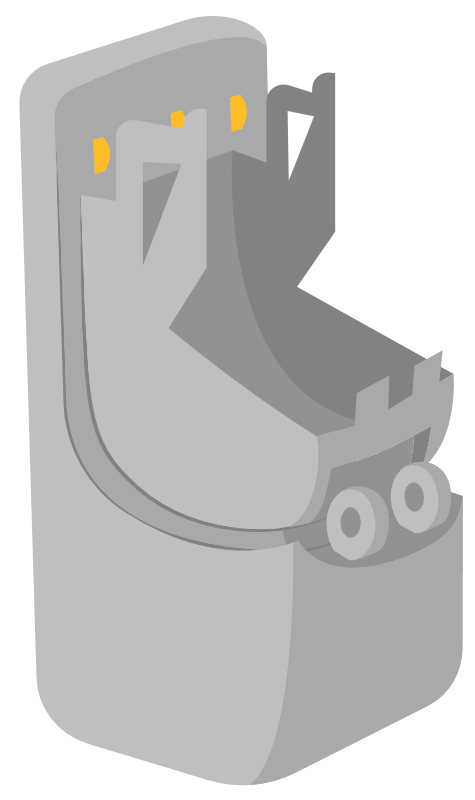
Connecting audioshoe
If the person’s system uses an audioshoe explain:
- Attach the audioshoe to bottom of hearing aid – listen for the click that it has connected properly
- Attach the receiver to audioshoe – it will click into place
- Remove the audioshoe when not in use to protect from damage.
4. How to charge or replace battery
Explain a fully charged or new battery can power the remote microphone system for 4 to 8 hours of use.
For disposable batteries:
- Open battery compartment
- Remove used battery
- Insert new batteries by matching the positive (+) and negative (–) signs.
For rechargeable batteries:
- Connect the charging cable to the charging port and plug in the charger
- The charging time will be recommended by the manufacturer.
How to look after
Explain to the person that a remote microphone system will last longer if it is looked after.
Looking after a remote microphone system includes:
- Cleaning
- Storing safely.
Cleaning
Clean your remote microphone system regularly with a soft dry cloth:
- Wipe away dirt and dust with a soft cloth
- Disinfect the microphone transmitter with an alcohol wipe or alcohol solution on a tissue. Avoid using alcohol spray – too much liquid may damage the microphone.
Storing safely
- Remove battery and switch off the remote microphone system when not in use.
- Store in the box provided in a cool dry place.