Instruction
The second step in providing a remote microphone system is to fit it to make sure it is safe and effective to use.
Check remote microphone system
Before fitting the remote microphone system, check it:
- Has no sign of damage or cracks
- Is working.
Set up remote microphone system
To set up a remote microphone system:
- Attach the receiver if necessary
- Pair the microphone transmitter and receiver
- Check pairing is successful.
Attach receiver
Question
Look at the picture of a receiver. What type of receiver is it?
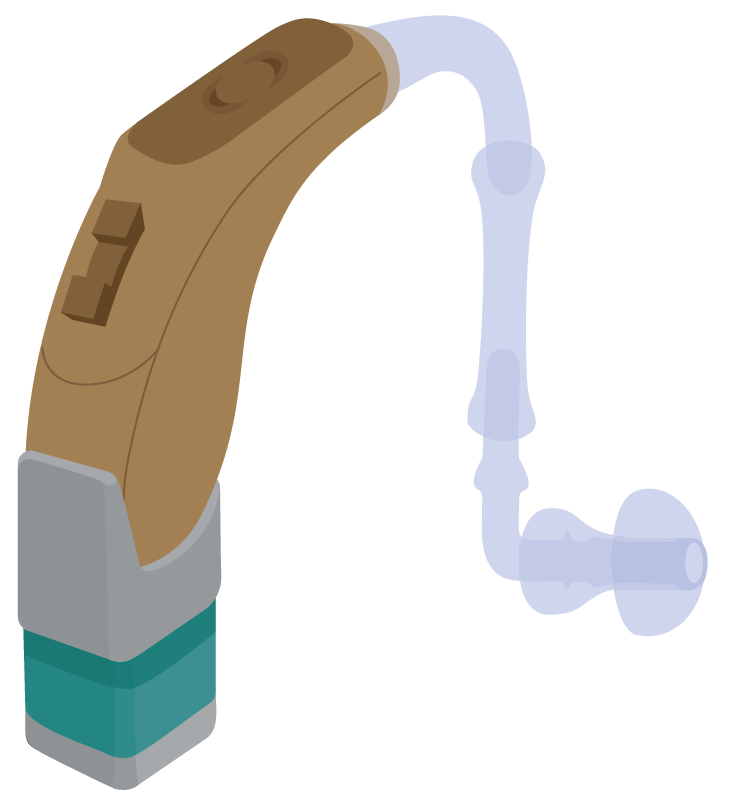
Select one.
If you selected c, you are correct!
Connecting audioshoe
Some receivers require an audioshoe. To connect an audioshoe and receiver:
- Match the three prongs of the receiver with the three holes in the bottom of the audioshoe
- Push until you hear a click.
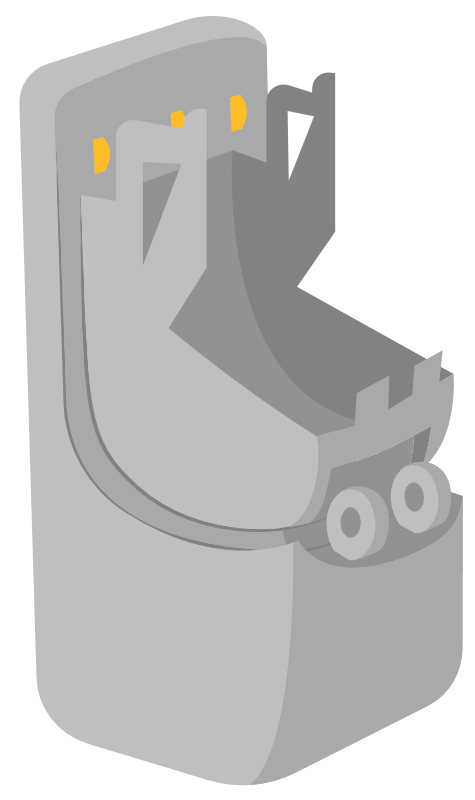
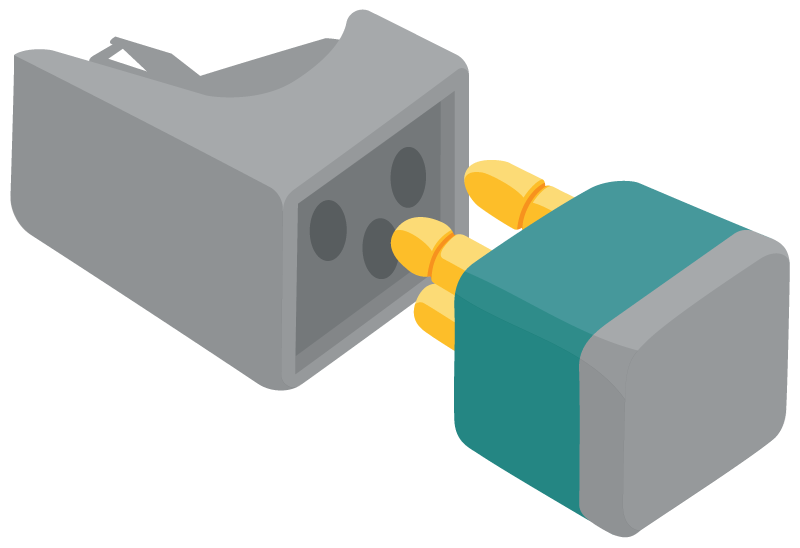
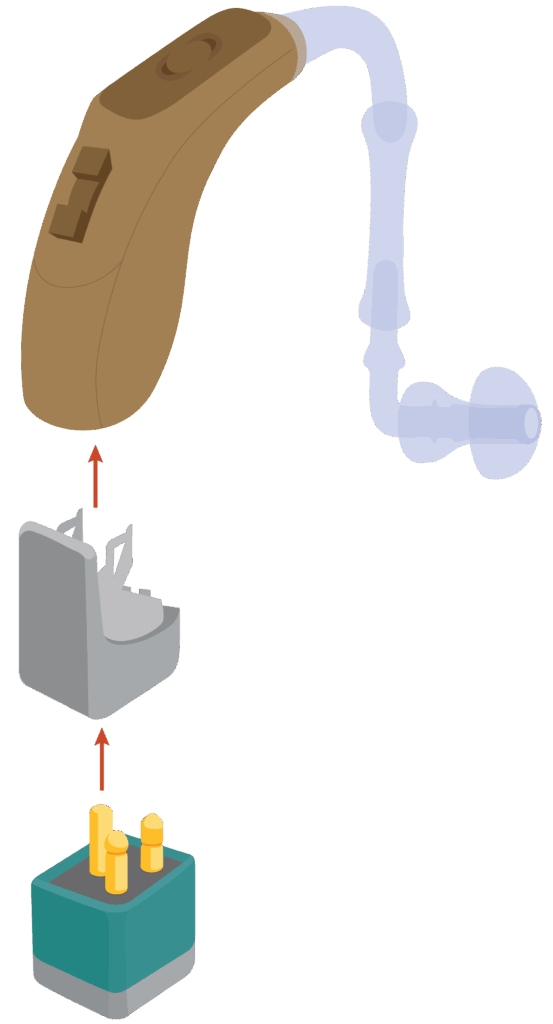
There are two ways to attach the audioshoe receiver to the hearing aid:
- Without removing battery door
- By removing battery door.
Attach without removing battery door
- Open the battery door and remove battery
- Push pin of audioshoe into the base of the hearing aid until it clicks into place
- Insert the battery again
- Close the battery door.
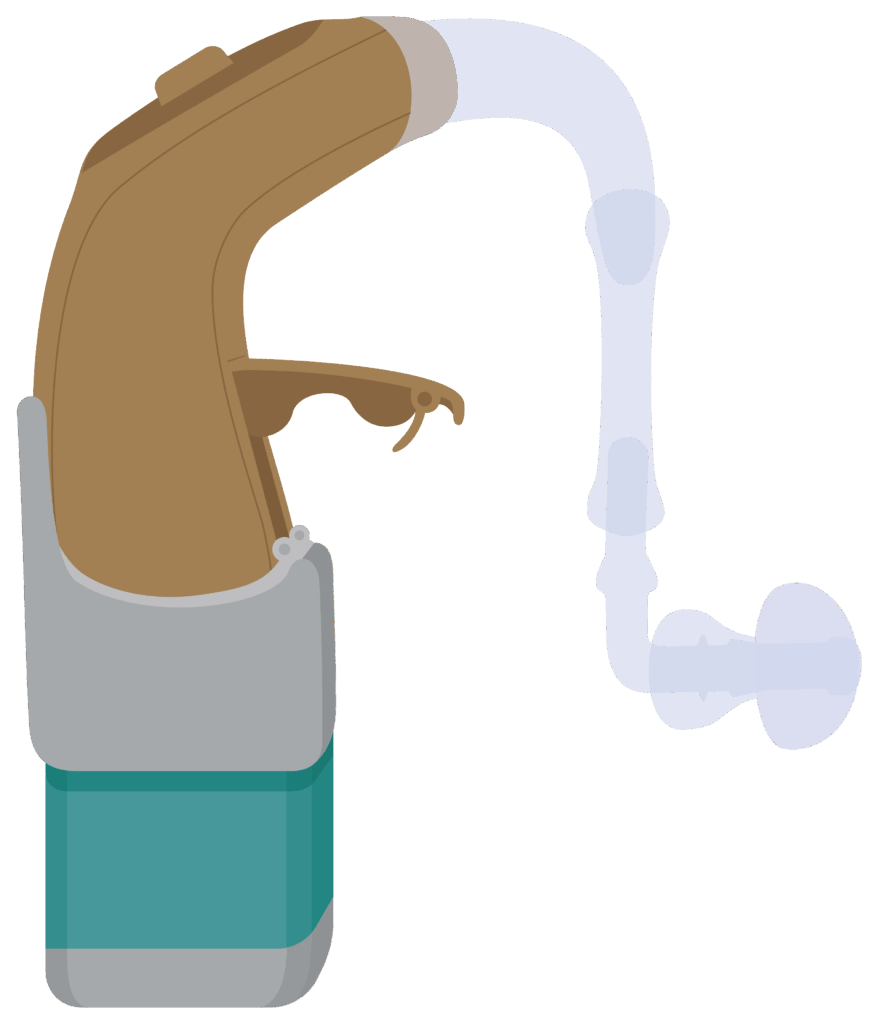
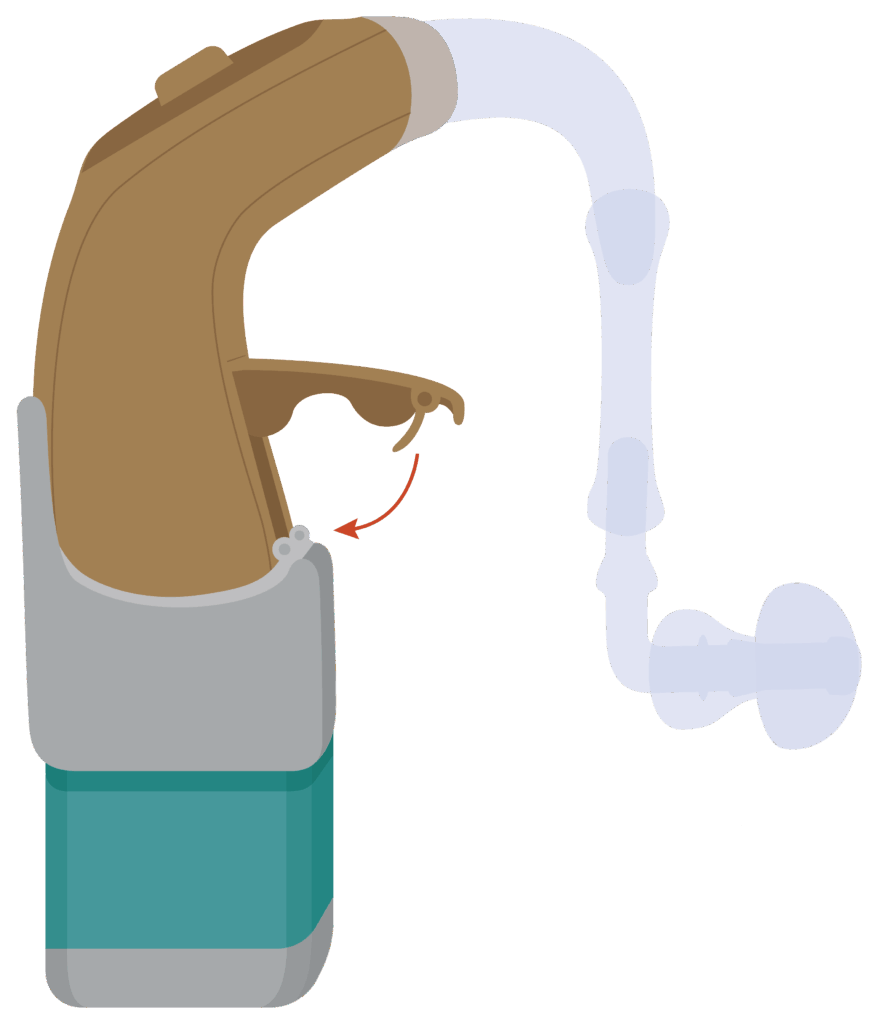
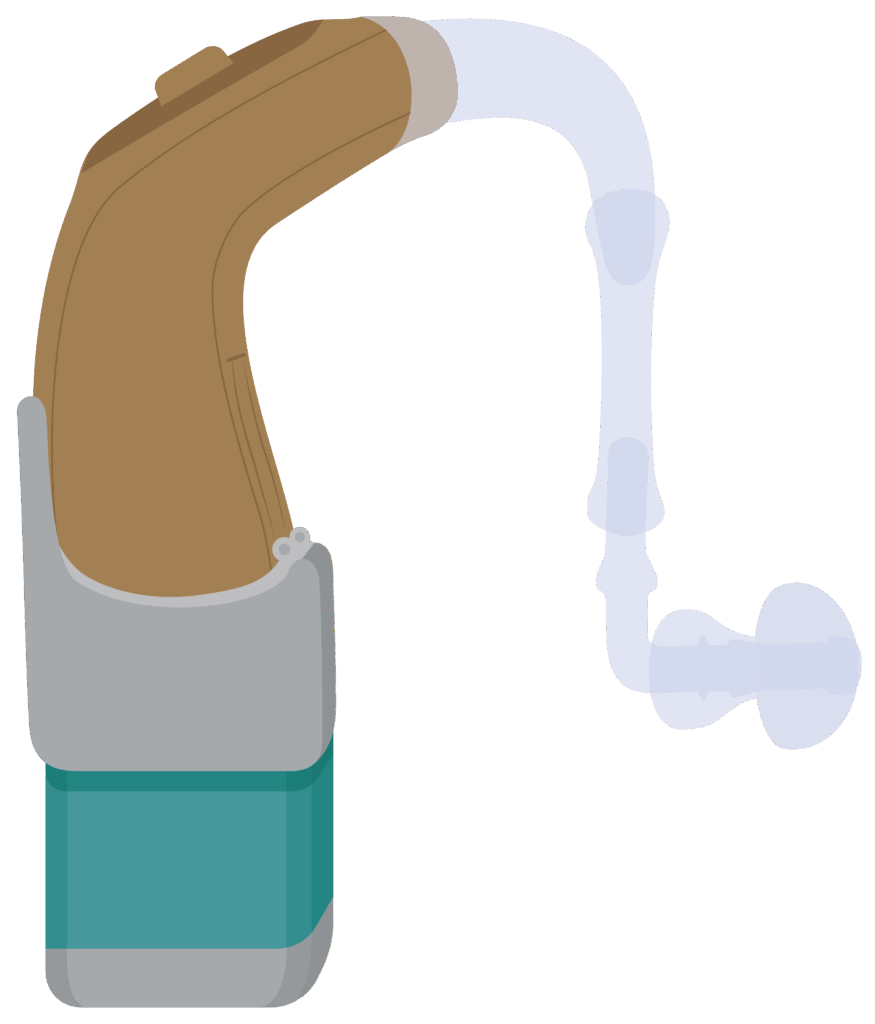
Tip
Check the manufacturer instructions to find out whether the battery door needs to be removed before connecting an audioshoe. This will require a tool supplied by the manufacturer.
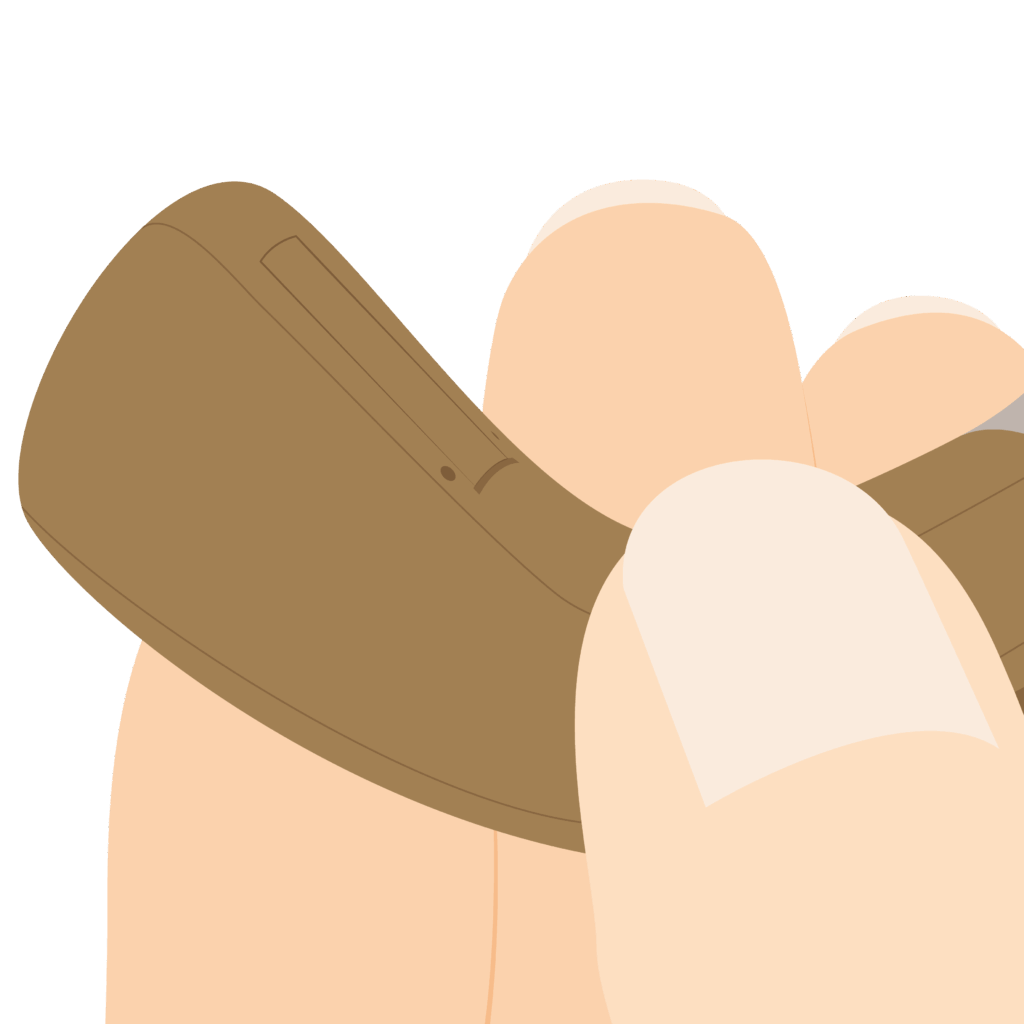
Attach by removing battery door
- Remove battery door
- Attach audioshoe and receiver
- Replace battery in audioshoe
- Close audioshoe door.
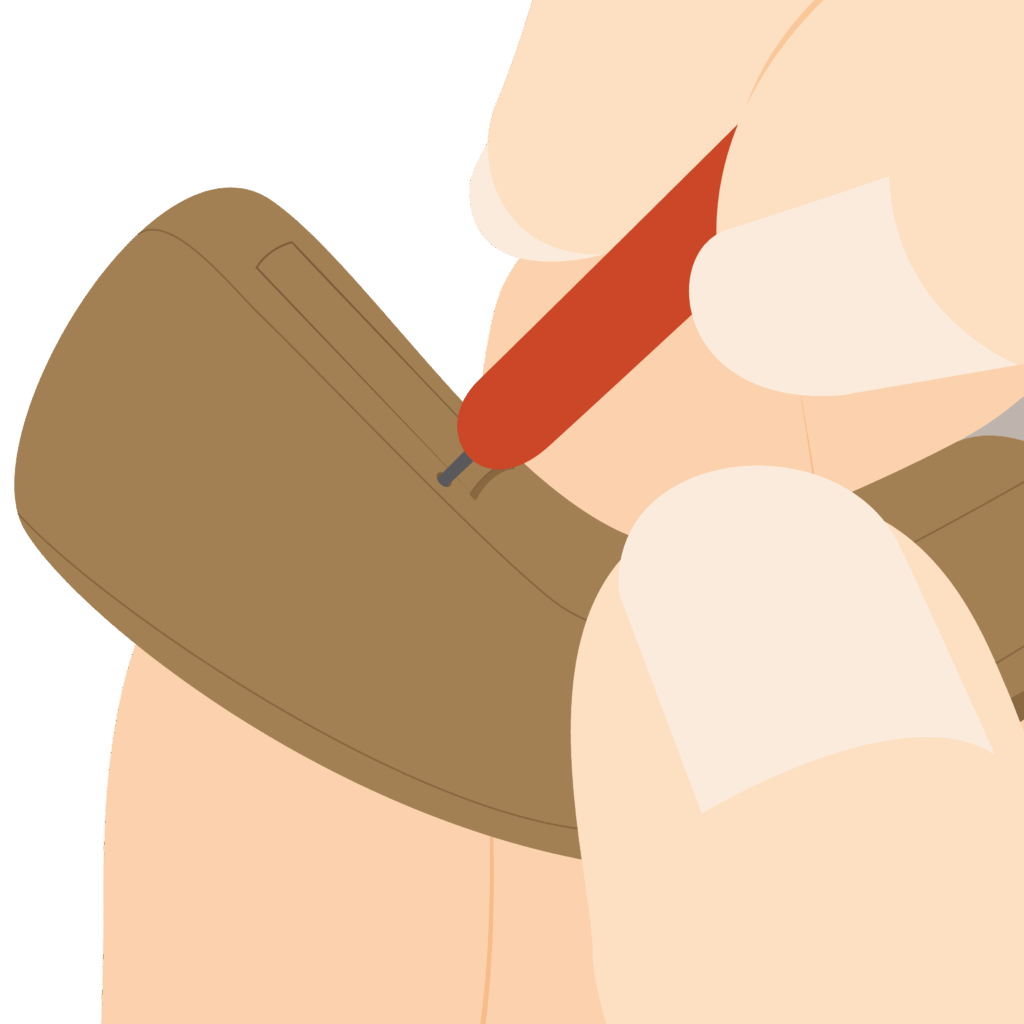
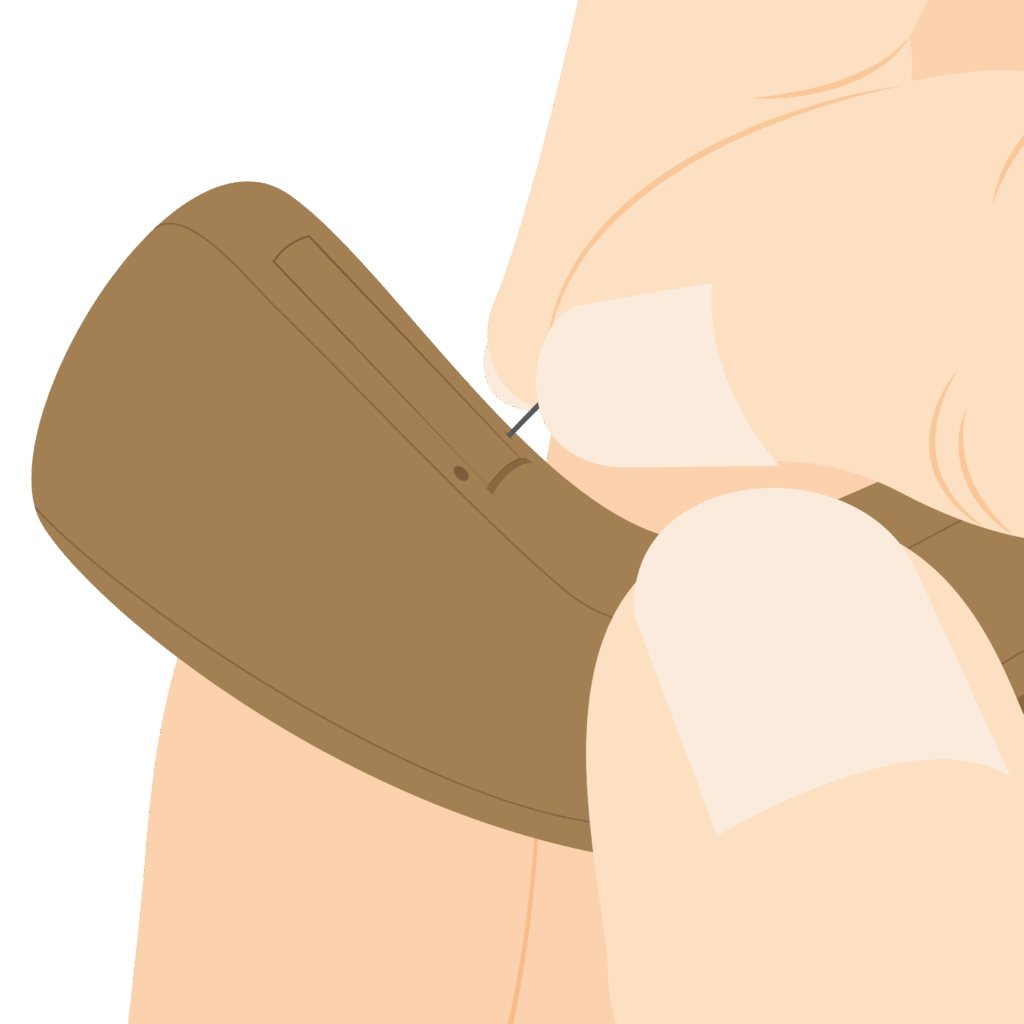
Tip
If the receiver is built into the hearing aid, it is only necessary to pair the microphone transmitter with the receiver in one hearing aid. The receivers in both hearing aids will then communicate with each other to establish a connection.
If the receiver is a separate attachment, the receivers will not communicate with each other. Pair each receiver separately.
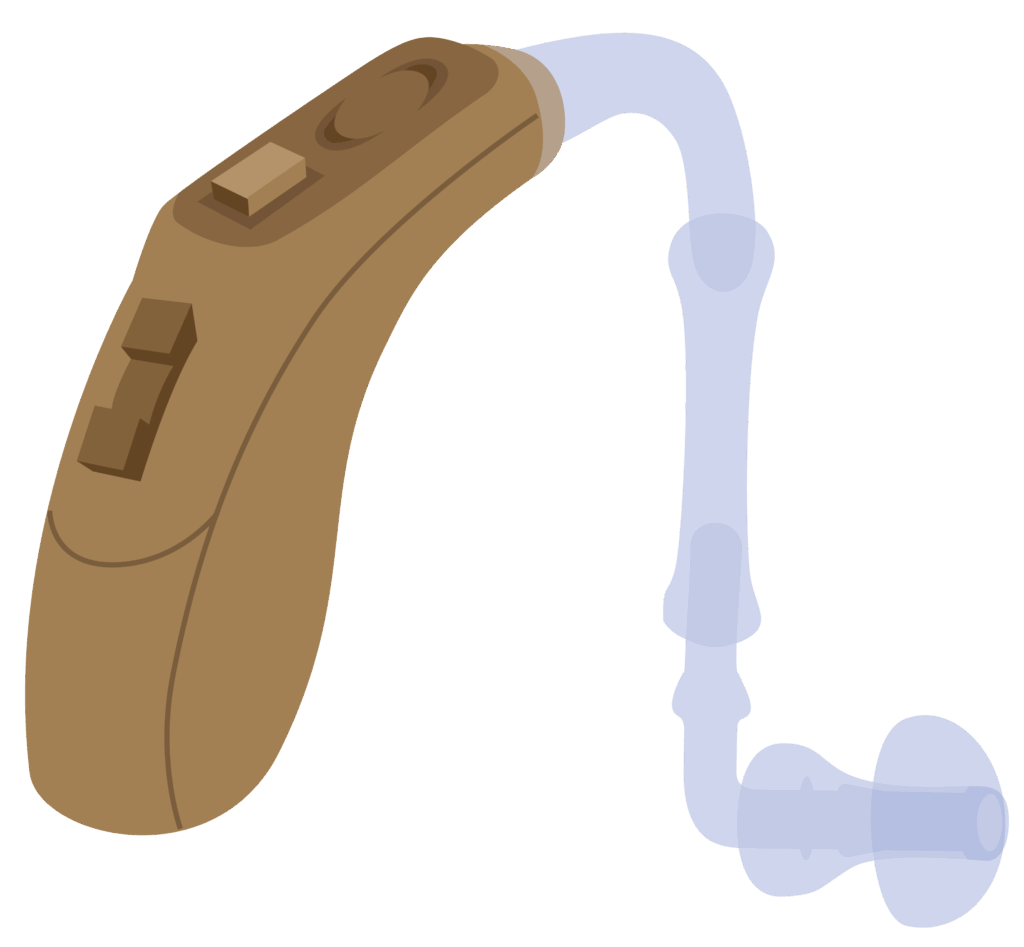
Pair
Connecting the remote microphone system with the hearing aid is called pairing. Pairing can be done in different ways:
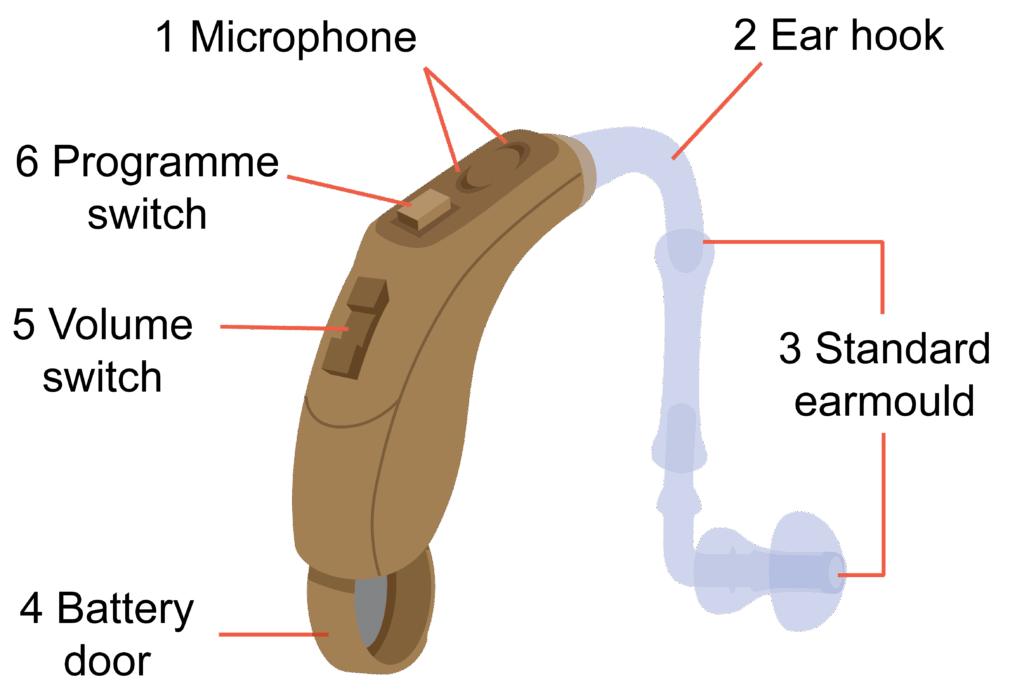
- For an FM system – press the programme switch button on the hearing aid to select remote microphone setting.
- For a DM system – activate the remote microphone setting in the software.
Activating the remote microphone setting may be done wirelessly though Bluetooth or selecting the program in the hearing aid app.
Some systems have a sound to indicate the remote microphone system is connected.
Pairing usually covers a connection range of up to 10 metres.
Instruction
Watch this video on how to pair a remote microphone system with a hearing aid.
Identify the following steps:
1. Connect hearing aid to computer
2. Detect hearing aid in software
3. Activate the remote microphone setting in software and press save
4. Select remote microphone setting on hearing aid
5. Switch on remote microphone
6. Activate pairing to connect remote microphone with hearing aid.
Question
What colour was the light when it had paired successfully?
Select one.
Green is correct!
A green light indicates it has paired successfully.
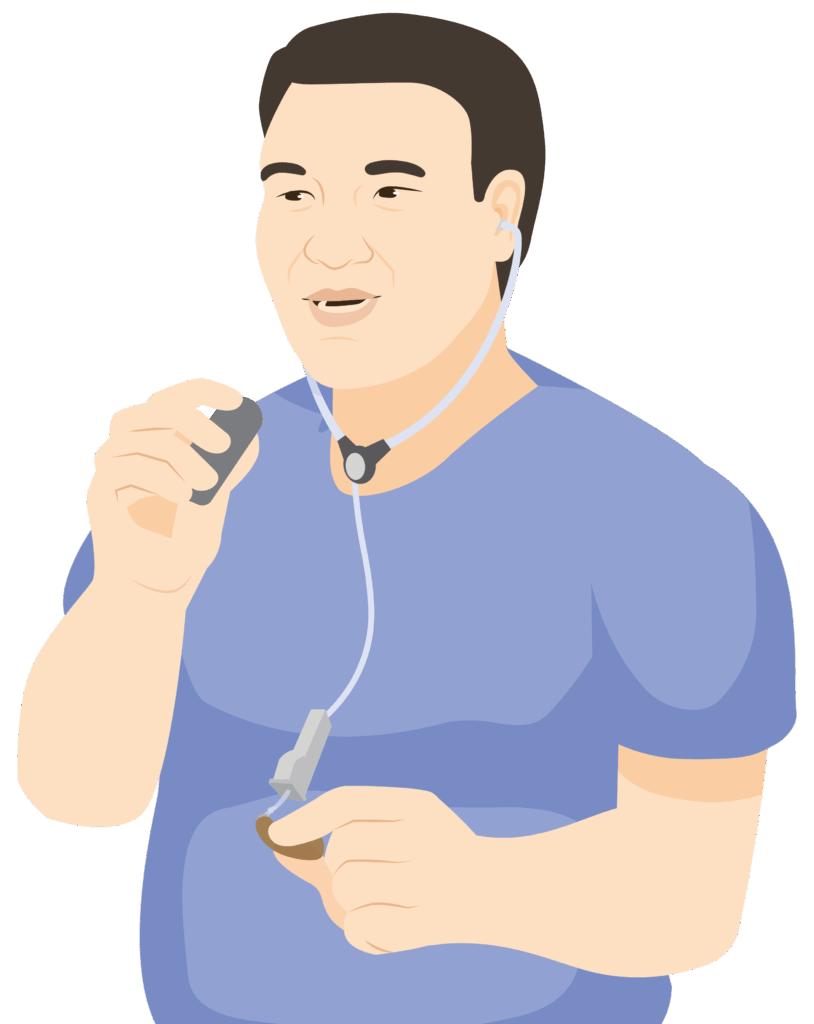
Check pairing successful
- Connect a listening tube (stetoclip) to the hearing aid
- Hold the microphone transmitter close to your mouth
- Hold the hearing aid away from the microphone transmitter
- Using the six Ling sounds, check you can hear each sound when speaking into the microphone transmitter
- Check each hearing aid.
Instruction
For instructions on how to pair the available remote microphone and hearing aids, complete this activity with support from your mentor.
Activity
In groups, practice pairing a remote microphone system using the hearing aids, microphone transmitter and receiver that are available locally.