Instruction
On TAP “personal remote microphone systems” will be shortened to “remote microphone systems”.
In this topic you will learn more about remote microphone systems included on TAP.
Remote microphone systems
Remote microphone systems included on TAP are for individual use by one person.
Instruction
TAP includes use of remote microphone systems for people who use behind-the-ear hearing aids. People with cochlear implants who may benefit from a remote microphone system have more complex needs and should be referred to an ear and hearing professional.
A remote microphone system includes a microphone transmitter and receiver.
The person speaks into a microphone transmitter which sends speech sounds wirelessly to the receiver.

The receiver is either built in or attached to each of the person’s hearing aids or worn around their neck. It delivers the sounds directly to the person’s hearing aids.
The remote microphone system should be compatible with the person’s behind-the-ear hearing aids.
Sound system
Some systems use FM (Frequency Modulation) technology, transmitting sound through radio frequencies. Others use DM (Digital Modulation), a newer technology that transmits sound using digital signals for improved clarity and reliability.
Microphone transmitter options
The most suitable type of microphone transmitter depends on the environment where it will most commonly be used.
Options include:
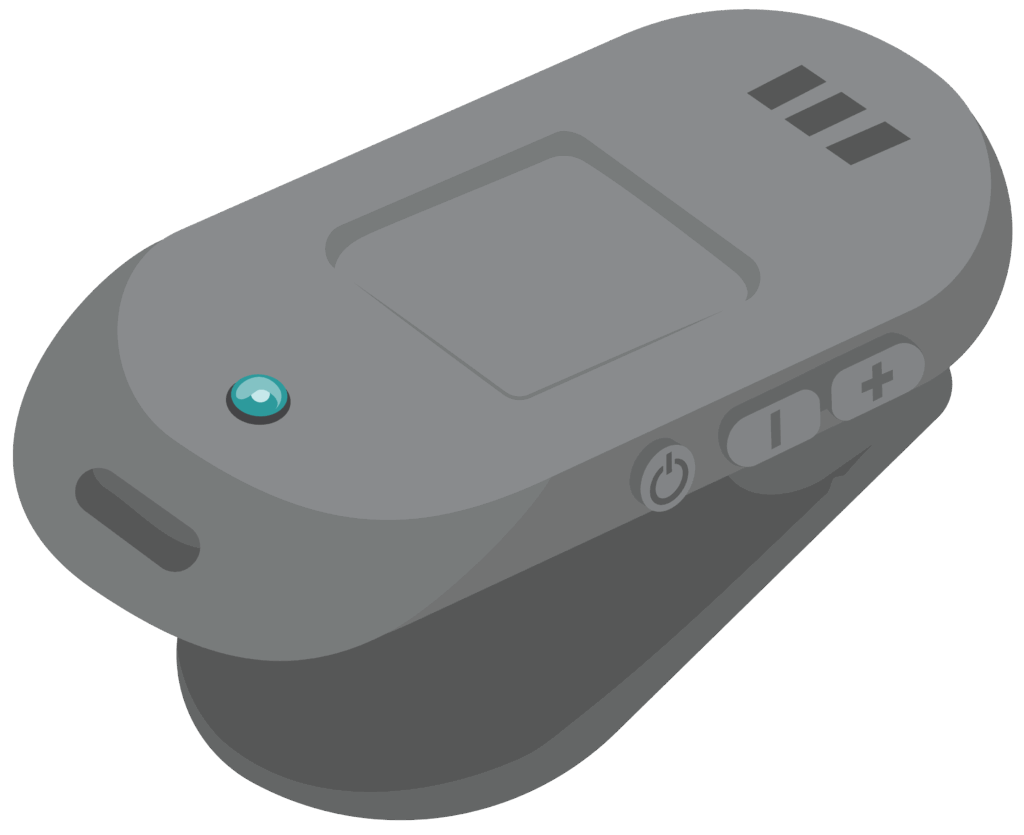
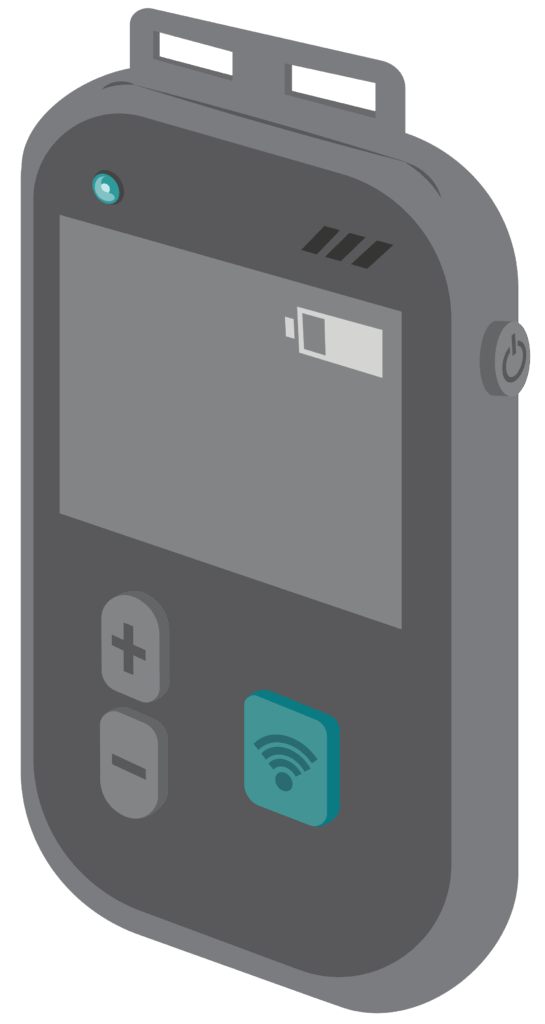
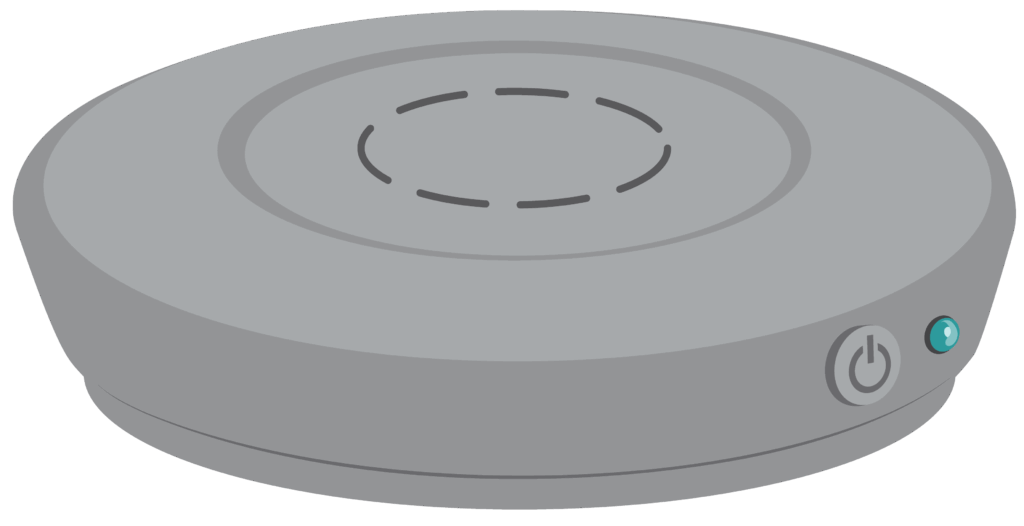
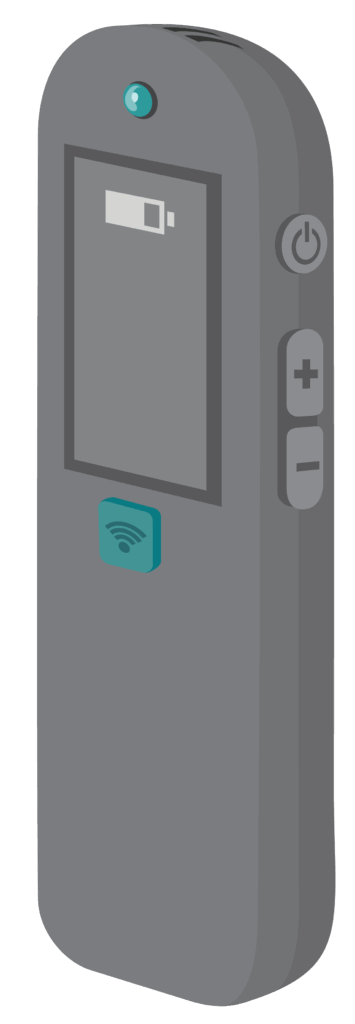
- Clip on or neck loop microphones – useful in teaching/lecture settings
- Tabletop microphones – useful in meeting settings
- Handheld microphones – useful for sharing when more than one person will speak.
Tip
Microphone transmitters can be used in more than one setting. For example, a clip on microphone can be clipped on to clothing during a lecture where the speaker is moving around. It can also be placed on a table during meetings or passed from one person speaking to another.
Receiver options
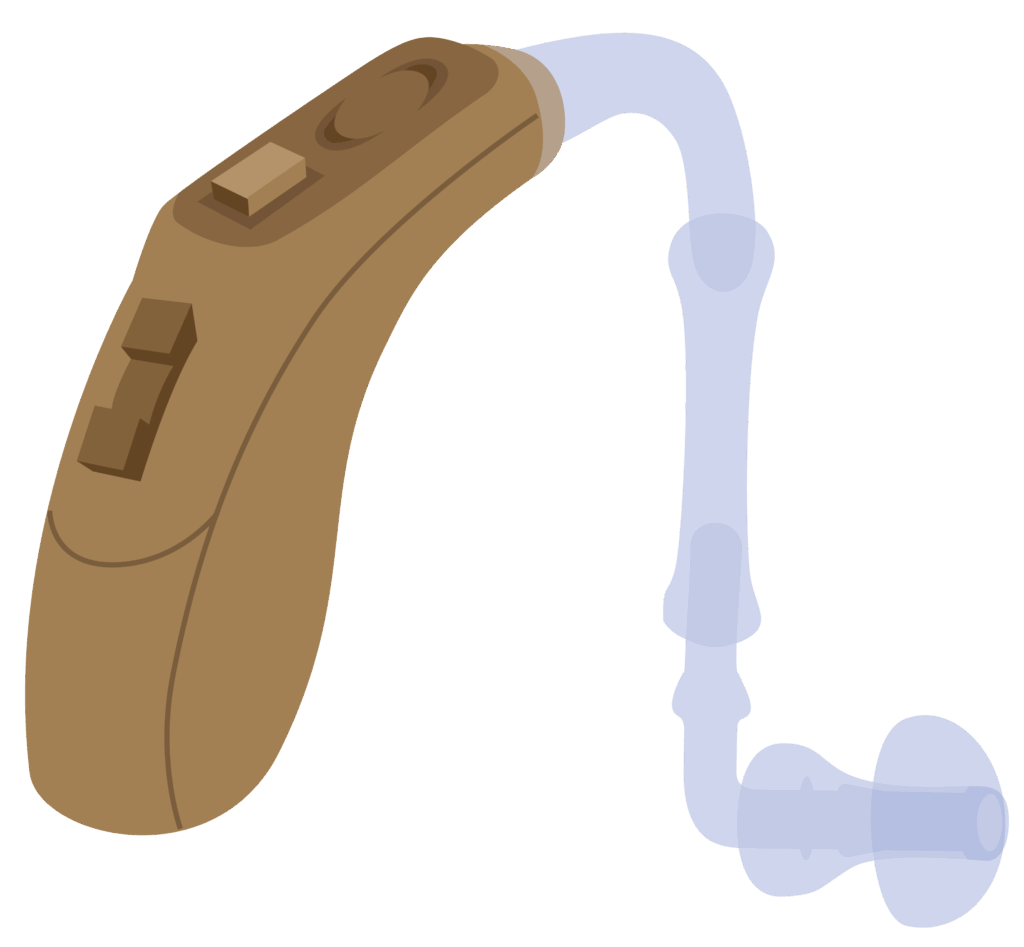
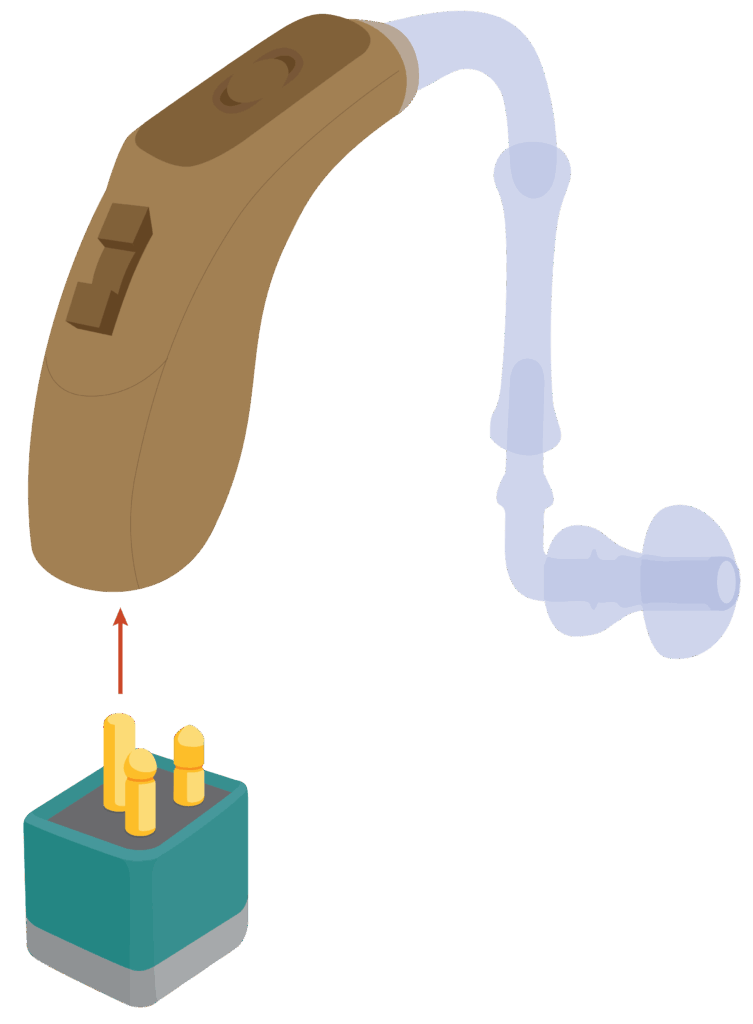
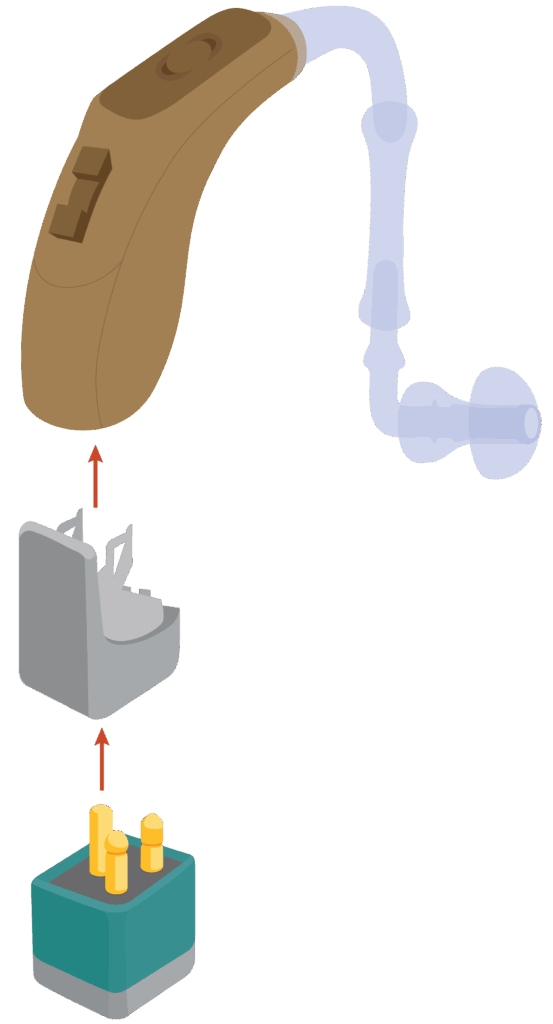
There are different types of receiver. The type selected depends on the type of hearing aid a person is using.
Receiver options include:
- Built into the hearing aid
- A part which attaches directly to the hearing aid
- A part which requires an audioshoe connector to attach to the hearing aid
- A separate receiver worn around a person’s neck.
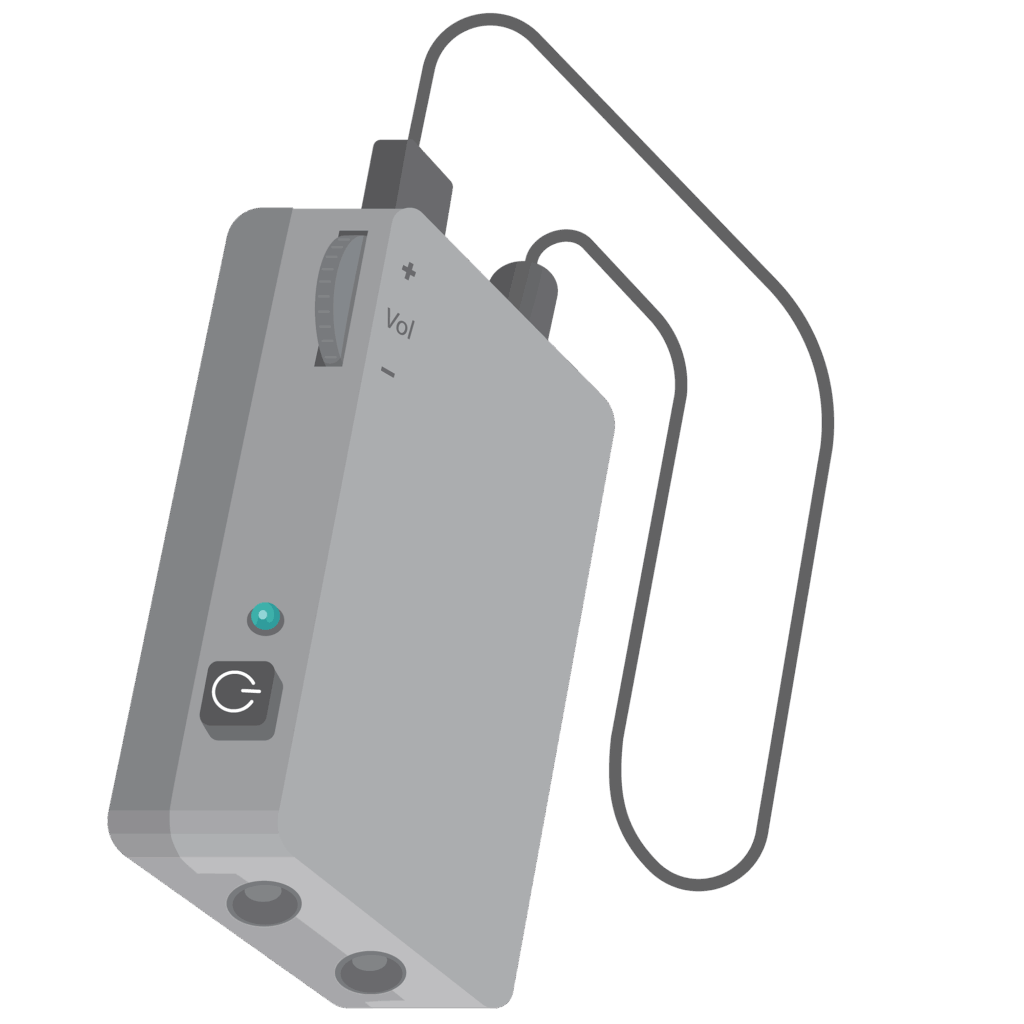
Other options
Remote microphone systems may also include:
- Automatic directional microphones. These automatically adjust to focus on the speaker’s voice, reducing background noise.
- Application (app) remote control. This connects to the hearing aids through a Bluetooth connection.
- Streaming audio such as video audio. This supports listening to content over the internet without the need to download it first.
Activity
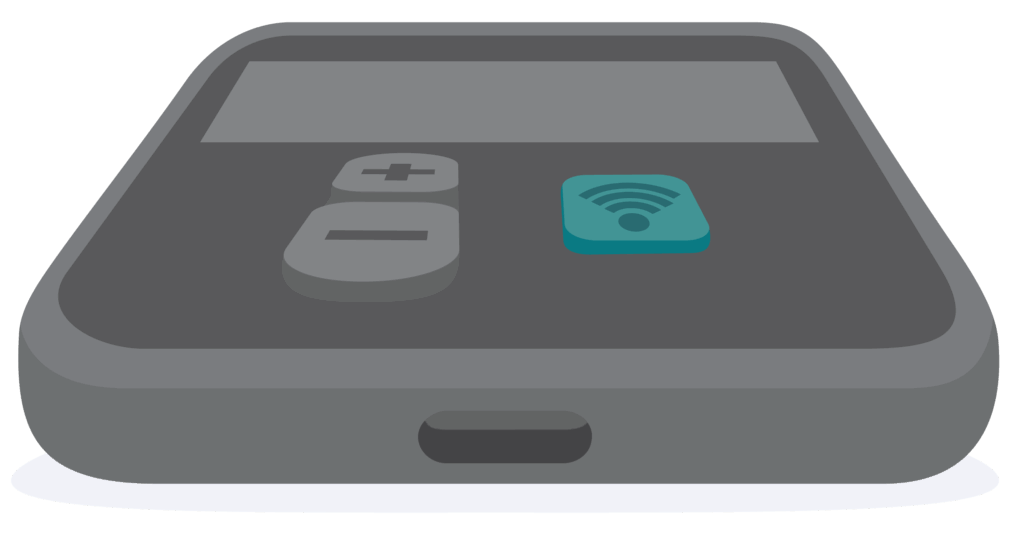
Identify the parts of the remote microphone system available at your service.
Identify the:
- Microphone transmitter
- Receiver
Identify the following features on the microphone transmitter:
- On/off switch
- Pairing button
- Charging port
- Volume control
- Pair light indicator
- Microphone
- Battery indicator